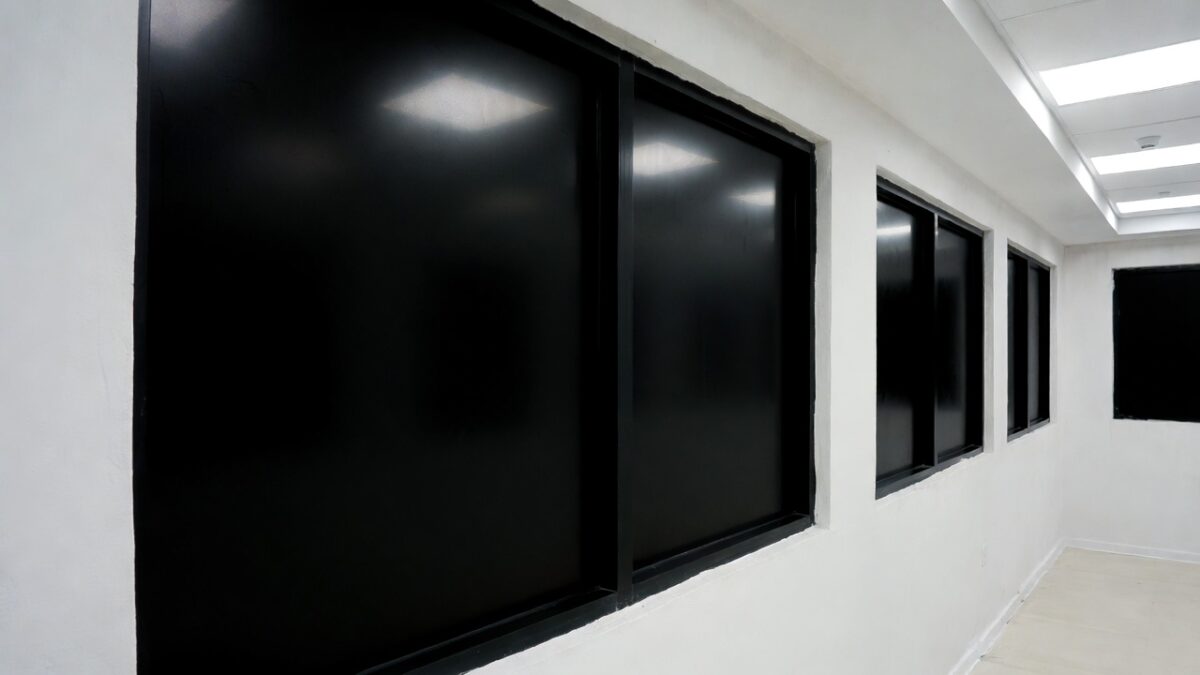
Blackout window film is an incredible solution for those looking to enhance privacy, improve energy efficiency, and add a sleek, modern look to any space. Whether you’re an interior designer seeking innovative ways to transform a room or a homeowner aiming to upgrade your living environment, blackout window film offers numerous benefits. In this article, we’ll delve into the details of blackout window film, exploring its advantages, installation processes, and how it can elevate both aesthetics and functionality in any setting.

Blackout window film is a type of privacy film designed to completely block light from passing through the glass. It’s often used in environments where light control is crucial, such as bedrooms, media rooms, or any space where maximum privacy is desired. Unlike traditional curtains or blinds, blackout window film adheres directly to the glass, providing a seamless appearance that enhances the overall look of your windows.
Key Benefits of Blackout Window Film
- Enhanced Privacy: Blackout window film offers ultimate privacy by blocking views from both inside and outside, making it ideal for ground-level rooms or spaces facing busy streets.
- Improved Energy Efficiency: By reducing heat transfer through windows, blackout film helps maintain a consistent indoor temperature, potentially lowering energy bills.
- UV Protection: These films block up to 99% of harmful UV rays, protecting furniture, flooring, and interior décor from fading over time.
- Aesthetic Appeal: With a variety of styles and finishes, blackout films can complement any interior design while providing a clean, modern look.
Installation Process: A Step-by-Step Guide

Installing blackout window film is a straightforward process, but it requires precision to achieve a flawless finish. Here’s a step-by-step guide to ensure a successful installation:
Step 1: Gather Your Tools
Before starting, make sure you have all necessary tools, including a utility knife, squeegee, spray bottle with soapy water, and a microfiber cloth.
Step 2: Clean the Windows
Thoroughly clean the window surfaces to remove any dirt, dust, or debris that may interfere with the film’s adhesion. Use a glass cleaner and a lint-free cloth for best results.
Step 3: Measure and Cut the Film
Measure the dimensions of each window and cut the film to size, leaving a slight excess to trim later. It’s crucial to ensure precise measurements to prevent gaps or overlaps.
Step 4: Apply the Film
Spray the window with the soapy water solution to help the film adhere smoothly. Carefully peel the backing from the film and apply it to the window, starting from the top and working your way down.
Step 5: Smooth Out Air Bubbles
Use a squeegee to gently smooth out any air bubbles, working from the center toward the edges. This step is vital for achieving a professional, bubble-free finish.
Step 6: Trim the Excess
Once the film is securely adhered, use a utility knife to trim any excess film along the window edges for a clean, polished look.
Why Choose Blackout Window Film Over Traditional Solutions?

by Nick Schumacher (https://unsplash.com/@nickschu)
While curtains and blinds have been traditional choices for light control and privacy, blackout window film offers several distinct advantages:
- Space Efficiency: Unlike bulky drapes or blinds, window film takes up no additional space, allowing for a more open and airy feel in the room.
- Easy Maintenance: Window film requires minimal upkeep compared to cleaning fabric drapes or dusting blinds.
- Durability: High-quality blackout films are resistant to wear and tear, offering a long-lasting solution that maintains its appearance over time.
Environmental and Cost Benefits
Blackout window film not only enhances indoor comfort but also provides significant environmental and cost benefits. By reducing the need for artificial lighting and improving thermal insulation, it contributes to lower energy consumption, promoting sustainability.
Energy Savings
The insulating properties of blackout film help regulate indoor temperatures, reducing the reliance on heating and cooling systems. This can lead to substantial savings on energy bills, making it an eco-friendly choice for environmentally conscious homeowners.
Long-Term Investment
While the initial cost of installation may be higher than purchasing curtains or blinds, the long-term savings on energy costs and the extended lifespan of the film make it a worthwhile investment.
Practical Applications for Interior Designers
For interior designers, blackout window film presents a versatile tool to enhance the functionality and aesthetics of a space. Here are some creative ways to incorporate blackout film into your design projects:
- Media Rooms: Create the perfect viewing environment by eliminating glare and ensuring complete darkness for an immersive experience.
- Bedrooms: Enhance privacy and promote restful sleep by blocking out external light sources.
- Home Offices: Reduce screen glare to improve productivity and comfort during work hours.
Conclusion
Blackout window film is a versatile, efficient, and stylish solution for enhancing privacy, improving energy efficiency, and protecting interiors from UV damage. Its seamless integration into any design aesthetic makes it a valuable addition to any space, offering both functional and aesthetic benefits.
Whether you’re an interior designer aiming to provide innovative solutions for your clients or a homeowner looking to improve your living space, blackout window film is an excellent choice. By understanding its benefits and installation process, you can make informed decisions that align with your design goals and sustainability efforts. Embrace the modern, sleek, and practical advantages of blackout window film to elevate your home or design projects to the next level.