# What You Should Know About Blackout Window Film
In the world of home improvement, blackout window film is a versatile and practical solution. It offers homeowners not just an aesthetic upgrade but also functional benefits like enhanced privacy and energy efficiency. But what exactly is blackout window film, and why should you consider it for your home or interior design projects? Let’s dive into the details.

Blackout window film is a type of privacy window film that completely blocks light from passing through glass surfaces. It’s often used in settings where complete darkness is desired, such as bedrooms, media rooms, or offices. This film adheres to the glass surface and can be applied to both residential and commercial settings.
Key Features of Blackout Film
- Light Control: As the name suggests, blackout window film blocks out all light. This makes it perfect for rooms where you want to eliminate external light sources.
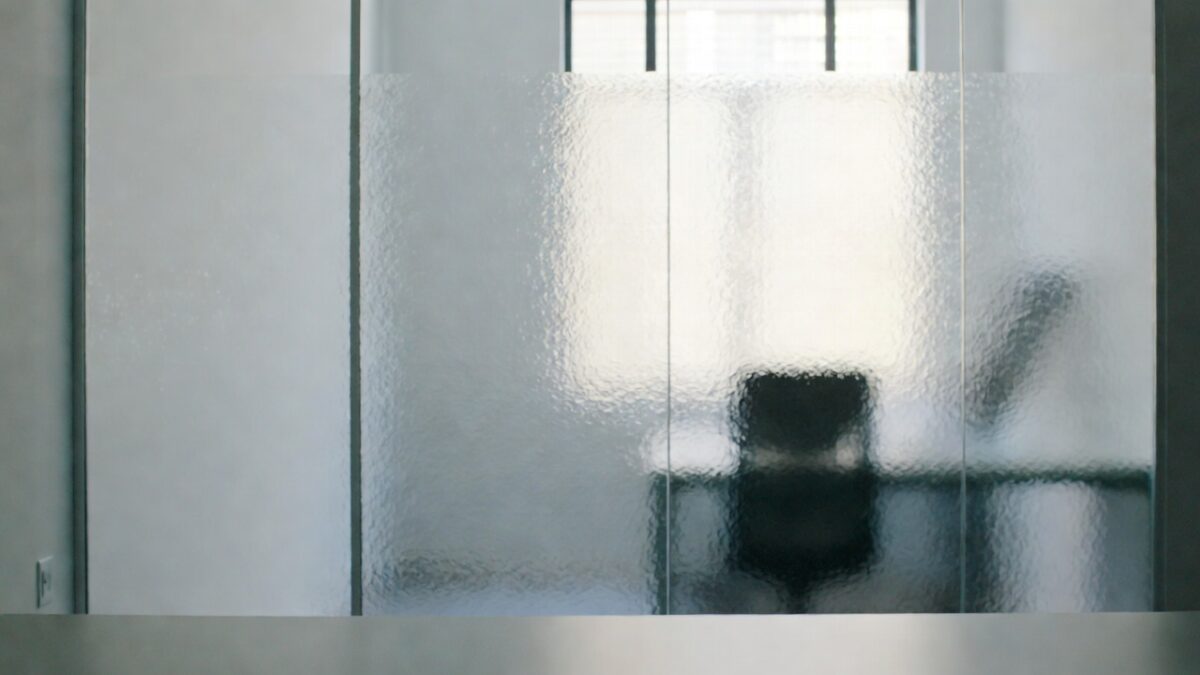
- Privacy Enhancement: It provides complete privacy, preventing anyone from seeing inside, which is ideal for rooms facing busy streets or neighbors.
- Energy Efficiency: By blocking out sunlight, blackout film helps maintain a consistent indoor temperature, reducing the need for air conditioning and heating.
- Aesthetic Appeal: Available in various designs and finishes, it can enhance the look of any room.
Benefits of Blackout Window Film

Enhanced Privacy
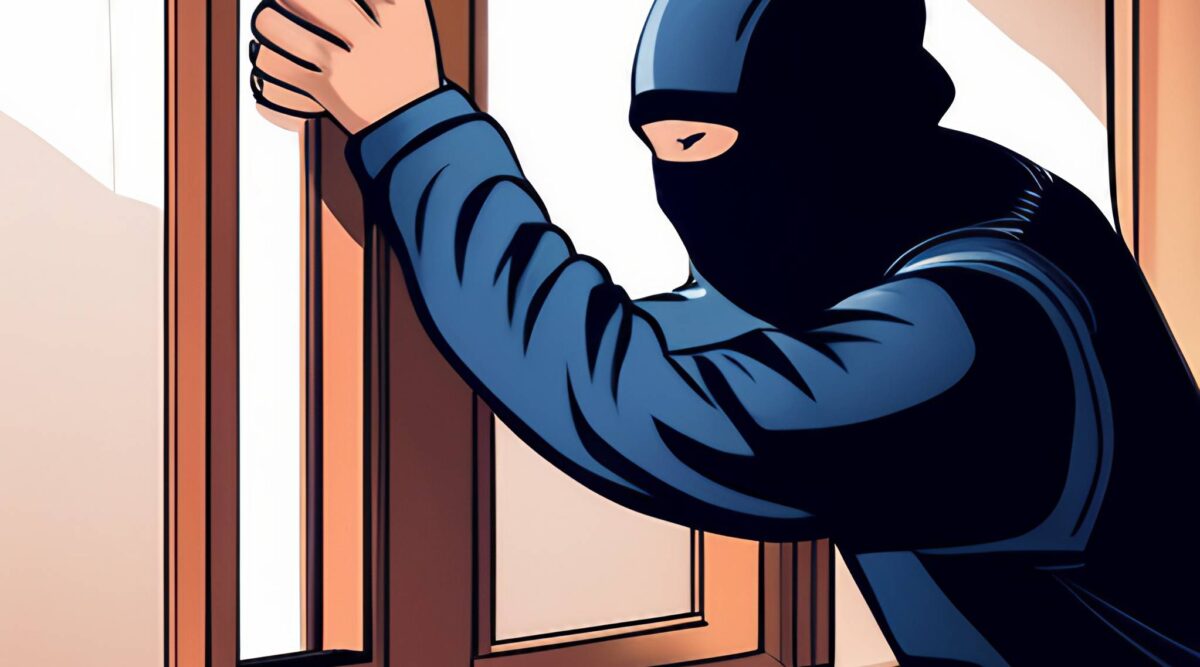
Privacy is a significant concern for many homeowners, especially those living in urban areas. Blackout film ensures that your indoor activities remain unseen from the outside, providing peace of mind and security.
Improved Energy Efficiency
With increasing energy costs, finding ways to reduce consumption is crucial. Blackout window film plays a vital role in energy conservation by minimizing the amount of heat entering a room. This can lead to significant savings on energy bills, a benefit that is both eco-friendly and cost-effective.
Protection from UV Rays
UV rays can cause damage to interior furnishings, flooring, and even your skin. Blackout window film blocks up to 99% of harmful UV rays, preserving the longevity of your furniture and protecting your health.
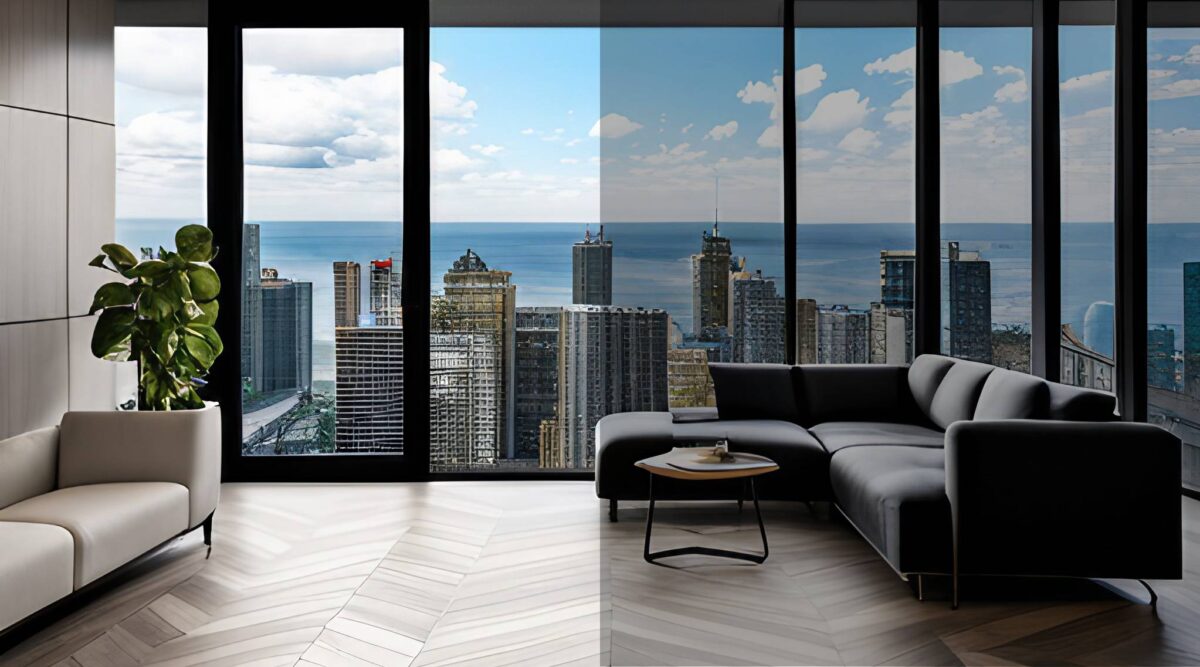
Versatility in Design
Whether you’re an interior designer or a homeowner, the aesthetic flexibility of blackout window film is appealing. It can be tailored to match the style of any room, offering a sleek and modern finish that complements various interior designs.
Installation Process
Installing blackout window film is a straightforward process, but it requires precision to ensure a flawless finish. Here’s a simplified guide:
- Preparation: Clean the window thoroughly to remove any dust or debris.
- Measurement: Measure the window and cut the film to the appropriate size.
- Application: Peel the backing from the film and apply it to the window. Use a squeegee to remove any air bubbles.
- Trimming: Trim any excess film to ensure a perfect fit.
While DIY installation is possible, hiring a professional can guarantee a high-quality, long-lasting result.
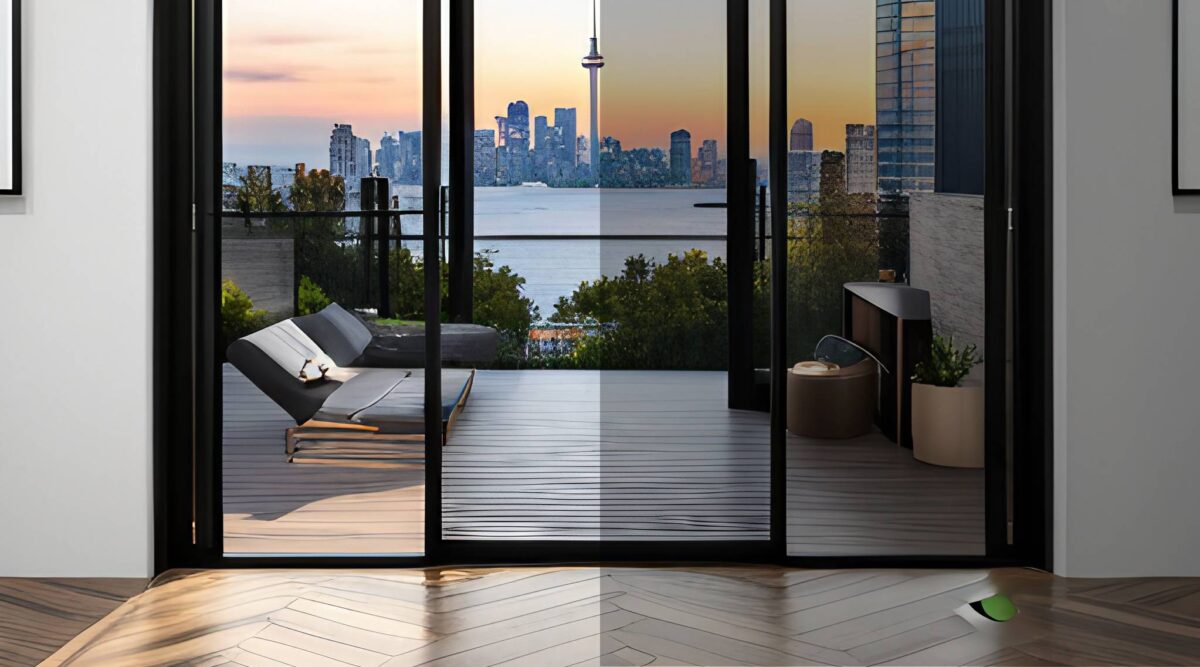
Choosing the Right Blackout Window Film

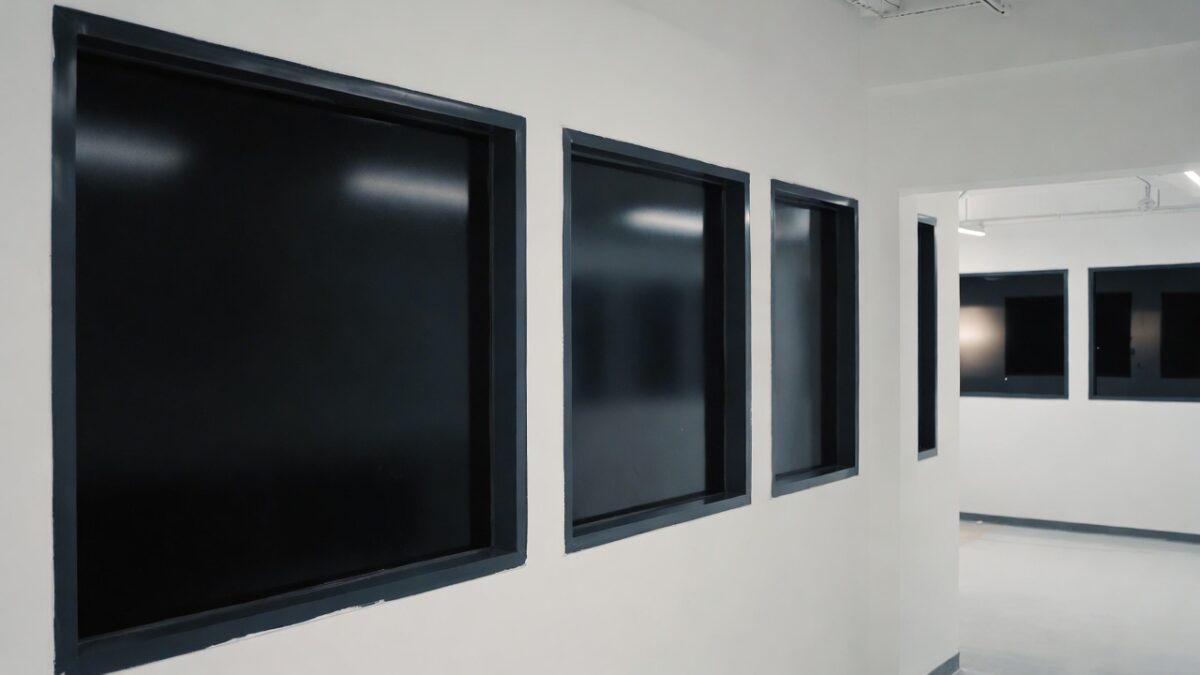
by william f. santos (https://unsplash.com/@youwwwill)
When selecting blackout window film, consider the following factors:
Material Quality
Opt for high-quality film that offers durability and effective light blocking. Cheaper films may not adhere well or might degrade quickly under sunlight.
Design and Aesthetic
Choose a design that complements your interior décor. Blackout films come in various shades and patterns, so select one that enhances the room’s overall look.
Installation Method
Decide whether you’ll install the film yourself or hire a professional. Professional installation may be more expensive but ensures a seamless finish.
Brand Reputation
Research different brands and read customer reviews to ensure you’re purchasing a reliable product. Trusted brands often provide better warranties and customer support.
Real-Life Applications
Residential Use
In homes, blackout window film is perfect for bedrooms and nurseries where complete darkness is essential for restful sleep. It’s also ideal for home theaters, ensuring a true cinematic experience without light interference.
Commercial Use
In offices, blackout film can be used in meeting rooms or presentation areas to prevent glare on screens. It also offers privacy for sensitive discussions or work.
Interior Design Projects
For interior designers, blackout window film is a cost-effective solution that meets clients’ needs for privacy and energy efficiency while also contributing to the aesthetic appeal of the space.
Conclusion
Blackout window film is more than just a tool for blocking light; it’s a versatile solution that offers privacy, energy savings, and design flexibility. Whether you’re looking to enhance a single room or an entire building, it’s a valuable addition to your home improvement toolkit.
For those considering blackout film for their next project, it’s worth consulting with professionals to explore the best options available and to ensure a high-quality installation. With the right choice, blackout window film can transform any space, making it more comfortable, private, and energy-efficient.
By understanding the benefits and applications of blackout window film, you can make informed decisions that enhance the quality and functionality of your living spaces.