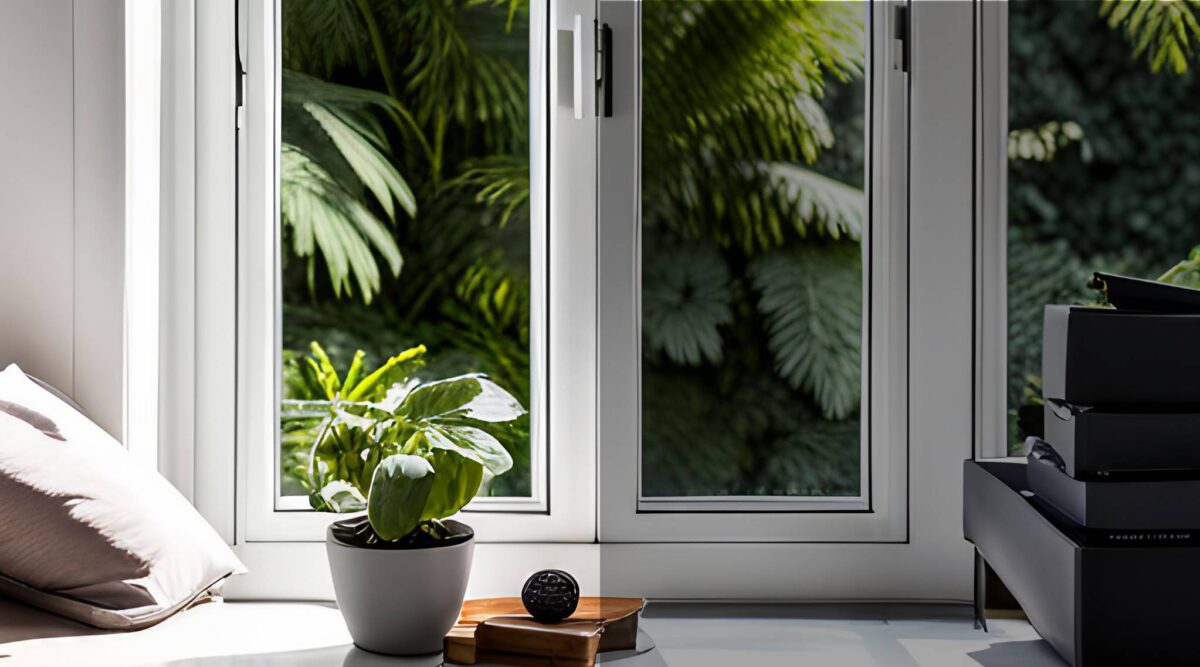

Home window tinting has emerged as a popular solution for enhancing both the aesthetic and functional aspects of residential spaces. Whether you’re aiming to improve privacy, reduce energy costs, or enhance the overall appearance of your home, window tinting offers a versatile and effective solution. This guide explores the effective ways to apply home window tinting, ensuring you achieve the best results for your unique needs.
Understanding the Basics of Home Window Tinting
Before diving into the application process, it’s essential to understand what home window tinting entails. Window tinting involves applying a thin film to the glass surface of windows. This film can come in various shades and materials, each designed to provide specific benefits.
Benefits of Window Tinting
- Enhanced Privacy: Privacy window films allow you to enjoy natural light while preventing outsiders from peering into your home.
- Energy Efficiency: Tinted windows can significantly reduce heat gain during the summer and heat loss during the winter, lowering your energy bills.
- UV Protection: Window films block up to 99% of harmful UV rays, protecting your interior furnishings and reducing glare.
- Improved Security: Some window films are designed to hold glass together in the event of breakage, providing an added layer of security.
Choosing the Right Window Tinting Film

Selecting the appropriate film is crucial to achieving the desired results. Consider the following factors when choosing a window tint:
Type of Film
- Dyed Film: Offers privacy and glare reduction at a lower cost but may fade over time.
- Metalized Film: Provides enhanced UV protection and durability but can interfere with electronic signals.
- Ceramic Film: Offers superior performance in UV protection and clarity without signal interference.
- Hybrid Film: Combines features of dyed and metalized films for a balanced solution.
Light Transmission and Privacy
- Consider how much light you want to transmit through your windows and the level of privacy you require.
- Tints are available in varying levels of darkness, measured by Visible Light Transmission (VLT).
Aesthetic Considerations
- Choose a tint that complements your home’s architectural style and interior design.
- Reflective tints can add a modern touch, while neutral or non-reflective tints blend seamlessly with traditional designs.
Preparing for Window Tinting
Proper preparation ensures a smooth tinting process and optimal results.
Cleaning the Windows
Thoroughly clean your windows to remove dust, dirt, and grease. Any debris left on the glass can cause bubbles and imperfections in the film.
Measuring and Cutting the Film
Accurate measurements are crucial. Measure each window pane and cut the film with a slight margin for adjustment. A utility knife and a straight edge can help achieve precise cuts.
Tools You’ll Need
Gather essential tools such as a squeegee, spray bottle, utility knife, and lint-free cloths. These will aid in the application process and ensure a professional finish.
Applying the Window Tint

by Deep Das (https://unsplash.com/@deepdass)
With the preparation complete, you can proceed to apply the window tint. Follow these steps for a successful installation:
Step 1: Wet the Window
Fill a spray bottle with a solution of water and a few drops of dish soap. Spray the window generously to create a slippery surface that allows for easy adjustment of the film.
Step 2: Remove the Film Backing
Carefully peel away the backing of the window film to expose the adhesive side. Ensure you don’t touch the adhesive surface to avoid fingerprints and smudges.
Step 3: Position the Film
Place the film onto the wet window, starting from the top and gently working your way down. Use your hands to smooth out any large air bubbles or wrinkles.
Step 4: Squeegee Out Air Bubbles
Using a squeegee, start from the center and work your way outward to remove air bubbles and excess water. Apply firm and even pressure to ensure the film adheres evenly.
Step 5: Trim Excess Film
Once the film is securely in place, use a utility knife to trim any excess film around the edges. Be cautious to avoid cutting into the window frame.
Post-Installation Care and Maintenance
Proper care extends the life of your window tint and maintains its appearance.
Allow Time to Cure
Avoid cleaning the windows for at least a week after installation to allow the film to cure fully. This prevents lifting or shifting of the film.
Regular Cleaning
Clean tinted windows with a soft cloth and non-abrasive, ammonia-free cleaner. This ensures the film remains clear and free of streaks or scratches.
Inspect for Peeling or Bubbling
Periodically inspect your tinted windows for any signs of peeling or bubbling. Promptly address any issues to prevent further damage.
Conclusion
Home window tinting is an effective way to enhance privacy, improve energy efficiency, and protect your home’s interior. By choosing the right film and following a meticulous application process, you can achieve professional-quality results that meet your needs. Whether you’re an interior designer seeking eco-friendly solutions or a homeowner looking to improve your living space, window tinting offers a valuable addition to any home improvement project.