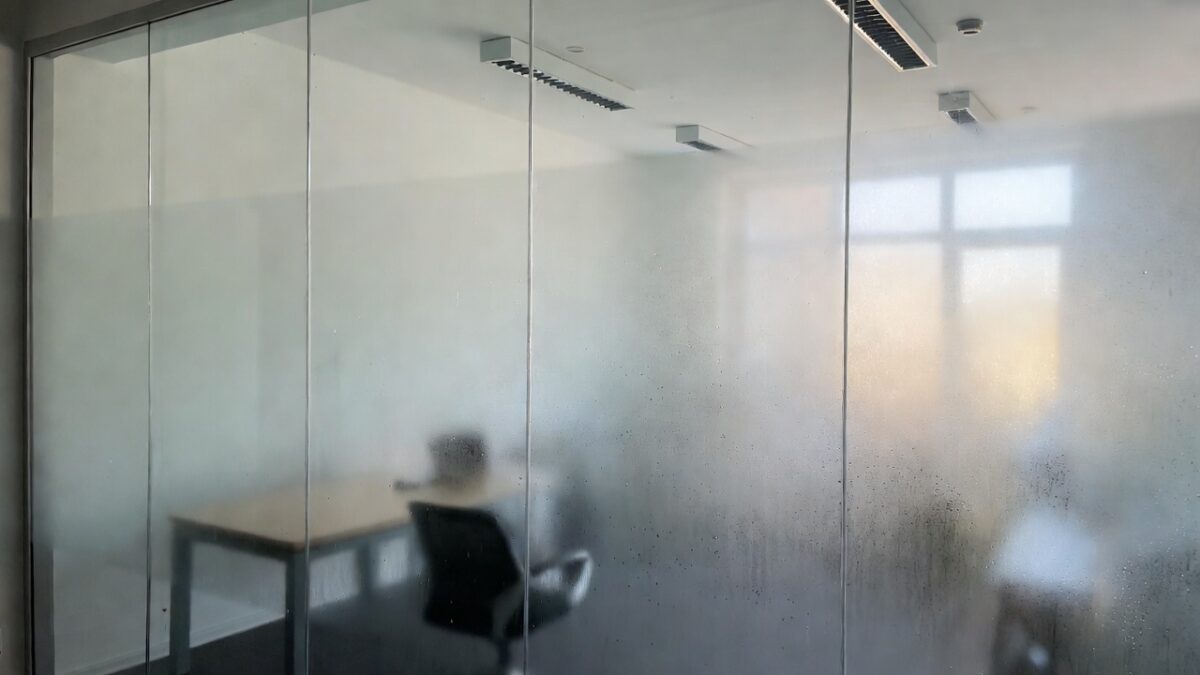
Incorporating decorative window film into your home or office space is an innovative way to enhance aesthetics and improve functionality. Whether you’re seeking privacy, trying to add a touch of elegance, or aiming to reduce energy bills, window film can be a versatile solution. In this article, we’ll explore effective ways to apply decorative window film, ensuring both style and practicality.

Decorative window film is a thin laminate film that can be installed on the interior or exterior of glass surfaces. It’s available in a variety of styles, patterns, and designs, making it easy to find a look that complements your space. From frosted glass effects to intricate patterns, decorative window film offers a stylish yet practical solution for any room. The wide array of choices allows homeowners and designers to experiment with different looks, transforming plain glass into an aesthetic feature that enhances interior design.
Moreover, decorative window films are not just about looks. They serve multiple purposes, from increasing privacy to enhancing energy efficiency. The films can be tailored to specific needs, such as reducing glare in a sunlit room or adding a professional touch to an office. This dual focus on style and function makes decorative window film a popular choice for both residential and commercial applications.
Benefits of Decorative Window Film
Before diving into application techniques, let’s briefly discuss the benefits of decorative window film:
- Enhanced Privacy: Perfect for bathrooms or street-facing windows, decorative films can obscure the view without sacrificing natural light. This feature is particularly beneficial in urban areas where buildings are close together, offering a sense of seclusion while maintaining brightness. It’s an ideal solution for creating private spaces in open-plan offices or shared living environments.
- Aesthetic Appeal: With a variety of patterns and colors, these films can dramatically alter the appearance of any glass surface. From minimalist designs to bold, colorful patterns, the aesthetic potential is vast. This flexibility allows you to change the vibe of a room easily, updating styles with trends without needing substantial renovations.
- Energy Efficiency: Certain films can reduce heat gain, helping to lower cooling costs and maintain a comfortable indoor temperature. By reflecting sunlight and reducing glare, these films contribute to a more energy-efficient environment, making them a smart choice for eco-conscious homeowners. They can significantly enhance the comfort level during peak summer months while cutting down on energy bills.
- UV Protection: Window films can block up to 99% of harmful UV rays, protecting your furniture and flooring from fading. This protection extends the life of your interior furnishings, maintaining their vibrancy and reducing the need for replacement or refurbishment. Such protection is crucial for preserving the quality of artwork, upholstery, and other materials sensitive to sunlight exposure.
Preparing for Window Film Application

Applying window film requires careful preparation to ensure a smooth and bubble-free finish. Here’s what you need to do before getting started:
Gather the Necessary Tools
To apply decorative window film effectively, you’ll need the following tools:
- A spray bottle filled with a mixture of water and a few drops of dish soap
- A squeegee
- A utility knife or razor blade
- A measuring tape
- A clean, lint-free cloth
- A ruler or straight edge
Having the right tools at your disposal is crucial for achieving a professional finish. The soapy water solution, for instance, acts as a lubricant that allows you to reposition the film before it sets, ensuring precision and alignment. Meanwhile, the squeegee is indispensable for removing air bubbles and excess moisture, which are common pitfalls that can mar the appearance of the film.
Clean the Glass Surface
Begin by thoroughly cleaning the glass surface where the film will be applied. Use a glass cleaner and a lint-free cloth to remove any dirt, dust, or smudges. A clean surface is crucial to prevent bubbles and ensure the film adheres properly. Any residue left on the glass can create imperfections or cause the film to peel prematurely.
Investing time in cleaning not only ensures better adhesion but also prolongs the life of the film. Pay special attention to corners and edges, where grime can accumulate, as these are the areas most likely to cause future peeling or bubbling. A meticulous cleaning process sets the foundation for a successful application.
Measure and Cut the Film
Measure the dimensions of the window and cut the film slightly larger than the glass area. This allows for adjustments and ensures the film covers the entire surface. Use a ruler and a utility knife to cut straight edges. Precision in measuring and cutting is essential to prevent gaps and overlaps, which can detract from the film’s appearance.
By cutting the film slightly larger, you give yourself some leeway for alignment and trimming. This approach not only ensures complete coverage but also reduces the risk of errors that could lead to wastage of material. Proper preparation in this stage makes the application process smoother and more efficient.
Applying Decorative Window Film
With your tools ready and the window cleaned, it’s time to apply the film. Follow these steps for a professional-looking result:
Step 1: Wet the Glass Surface
Spray the glass generously with the soapy water solution. This makes it easier to position the film and prevents it from sticking prematurely. The water acts as a temporary adhesive that allows the film to glide smoothly over the glass surface, providing you the flexibility to adjust the positioning as needed.
This step is crucial in ensuring a bubble-free finish. The liquid layer acts as a cushion, preventing air from being trapped between the film and the glass. It also allows you to lift and reposition the film if necessary, ensuring perfect alignment and coverage.
Step 2: Peel and Position the Film
Carefully peel the backing off the film, exposing the adhesive side. Start at one corner and gently position the film on the wet glass. The soapy solution allows you to slide and adjust the film as needed. Take your time with this step, as rushing can lead to misalignment or creases that are difficult to correct.
Peeling the backing requires patience to avoid tearing or stretching the film. Working from one corner to the opposite side helps in maintaining control over the film’s placement, ensuring that it adheres uniformly. This method also minimizes the risk of dust or debris getting trapped underneath.
Step 3: Smooth Out Air Bubbles
by Laura Ohlman (https://unsplash.com/@ohlmanphotography)
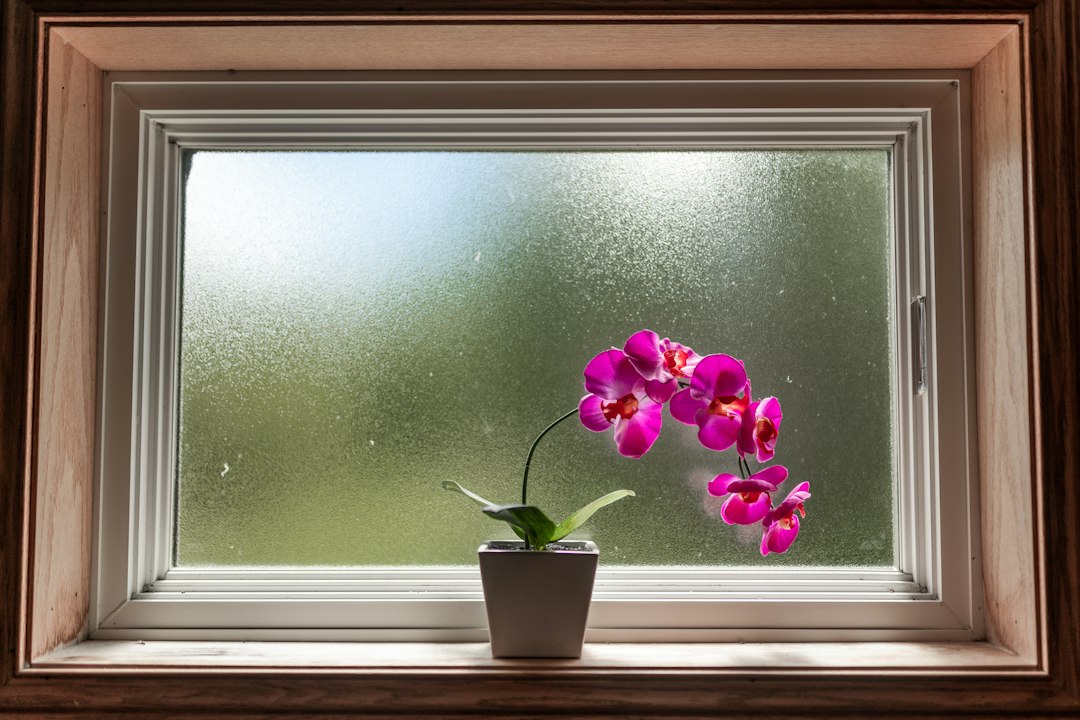
Using the squeegee, start from the center of the film and work your way outwards. This action helps remove any air bubbles and excess water trapped beneath the film. Be gentle to avoid tearing the film. The key is to use steady, even pressure to push the bubbles towards the edges where they can escape.
This step is vital for achieving a smooth, professional finish. If air bubbles are left unchecked, they can cause visual distortions and weaken the film’s adhesion over time. Regularly wipe the squeegee blade to remove moisture and prevent streaks, ensuring a flawless application.
Step 4: Trim the Edges
Once the film is smoothed out, use the utility knife to trim any excess film from the edges. Hold the knife at a slight angle to achieve a clean cut along the window frame. Precision is key in this step to ensure that the edges are neat and flush with the window, enhancing the overall appearance.
Trimming requires a steady hand to avoid cutting into the film on the glass. A ruler or straight edge can be helpful for guiding the knife, ensuring that cuts are straight and accurate. This attention to detail ensures a seamless integration of the film with the window.
Step 5: Final Touches
Use a clean, lint-free cloth to wipe away any remaining moisture around the edges. Let the film dry completely, which can take a few hours to a couple of days, depending on the environment. During this time, avoid touching or moving the film to ensure it sets properly.
Final touches are about ensuring the film is securely adhered to the glass and free of imperfections. Regularly check the edges for any signs of lifting or bubbles, addressing them promptly to maintain a polished look. Patience in the drying process is essential for a long-lasting application.
Creative Ideas for Decorative Window Film
Decorative window film isn’t just for privacy or sun protection; it’s also a fantastic design tool. Here are some creative ideas to inspire your next project:
Frosted Glass Effect
Create a frosted glass effect in bathrooms or entryways for added privacy. This style is subtle yet elegant and can blend seamlessly with any decor. It offers a sophisticated look that mimics the appearance of etched glass without the permanent commitment or cost.
Frosted films are ideal for areas where you want to obscure views while allowing light to pass through. They are perfect for adding a touch of privacy to glass partitions in offices or creating a serene, private sanctuary in home bathrooms. The versatility of frosted designs makes them a popular choice for many settings.
Stained Glass Patterns
For a splash of color, consider stained glass film patterns. These films mimic the look of traditional stained glass and can add a vibrant, artistic touch to your windows. They are perfect for spaces that need a focal point or an injection of personality and charm.
Stained glass films can transform mundane windows into captivating works of art. They are particularly effective in rooms with ample natural light, where the colors can cast beautiful reflections and shadows. This style is perfect for adding a unique character to entryways, dining rooms, or any area where you wish to make a statement.
Customized Designs
Many companies offer custom printing services, allowing you to personalize window film with unique designs or logos. This is particularly appealing for businesses looking to enhance their branding. Custom designs can also be used in homes to reflect personal style or commemorate special events.
The ability to customize window films opens up endless possibilities for creativity. Whether you want to incorporate family photos, company logos, or bespoke patterns, custom films can be tailored to any specification. This personalization ensures that your window film is as unique as your vision.
Seasonal Themes
Switch up your window decor with seasonal themes. From snowflakes in winter to floral patterns in spring, decorative film can be a dynamic and temporary design solution. This approach allows you to celebrate seasons and holidays creatively, without making permanent changes to your decor.
Seasonal films are an excellent way to refresh your space and keep your decor current throughout the year. They offer a cost-effective means to celebrate occasions and create a festive atmosphere. By using removable films, you can easily update your decor as seasons change.
Maintaining Decorative Window Film
To keep your window film looking its best, follow these maintenance tips:
- Avoid Harsh Cleaners: Use a mild soap and water solution for cleaning. Abrasive cleaners can damage the film surface. Regular gentle cleaning helps maintain clarity and prevents the buildup of grime that can dull the film’s appearance.
- Use Soft Cloths: When cleaning, opt for soft, lint-free cloths to avoid scratching the film. Microfiber cloths are ideal as they are non-abrasive and effective at picking up dust without leaving streaks or residue.
- Inspect Regularly: Check for any signs of peeling or damage. Addressing issues early can prolong the life of the film. Regular inspection helps you catch and repair minor issues before they become significant problems that require reapplication.
Conclusion
Decorative window film is an excellent choice for enhancing the beauty and functionality of your home or office. By following these effective application techniques, you can achieve a flawless finish that complements your space. Whether you’re seeking privacy, style, or energy efficiency, decorative window film offers a versatile solution tailored to your needs.
With a little creativity and the right approach, you can transform ordinary windows into stunning design features that elevate the overall ambiance of your environment. Embrace the opportunity to explore different styles and customizations, making your windows a true reflection of your personal taste and functional requirements.